A note on the 300-like effects: The Crush
Probably the most looked at post I have here is this post covering how to use Photoshop to create effects like those featured in the movie 300. There’s been lots of talk on it, here and online on some Forums.
I just watched the movie again the other night, and I noticed that there is no one, single “300 effect” used throughout. There are many, many different effects. Some scenes are dark and heavy, but with illustrated highlights (like when everything is black, but you can see the bad guys white eyeball highlight) … and other scenes are gloriously gold and bright and beautiful (but still with extra dark shadows) … and other scenes are different in various ways.
We had huge debates online, some people saying my image wasn’t even close, and me thinking that there’s wasn’t even close. But in watching the movie, I noted that we were BOTH right … just looking at different scenes of the movie. So I think the trick in getting copying the effect is to make sure WHICH effect you are trying to get close to.
However, the main effect that everyone asks about is not the coloration, but “The Crush.” And I’ve found another possible route to getting that effect. Now, I only spent about 20 minutes on it, so it’s by no means great … but maybe it will give you an idea of how to get the dark darks, and the semi-illustrated look.
There was an image that I saw referenced on a thread, and someone said that it was done with excess sharpening in Photoshop. Here’s an image that is Copyright Max V for reference:
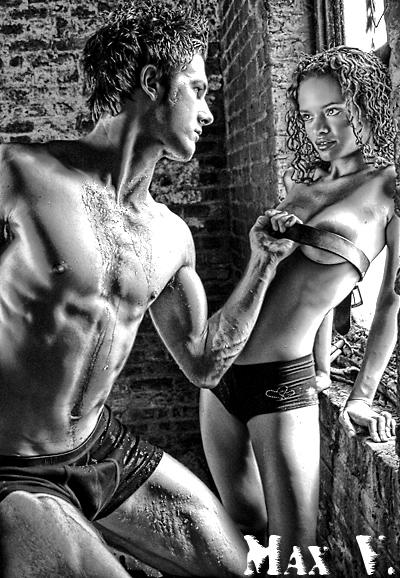
Clearly Max does more than just sharpen his image (and starts with a great image in the first place), and it sounded crazy that you could create this effect with Photoshop, but I tried it and it DOES seem to be a component of how the image was created. So here’s a quick, not-very-well-done image that I tested it on:
—Original Image—
Here’s the original image, converted to black & white. Make sure you use a good BW filter or some other good BW conversion method, of course. (That could be the topic for a whole set of articles.)
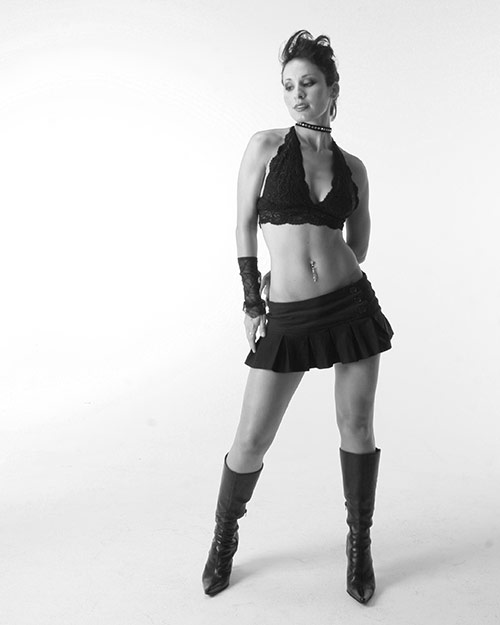
Step 1: Make a copy of that background layer. Apply a HUGE sharpening filter on it … in this case it was “Unsharp Mask , 171%, Radius of 45 pixels, 0 threshold”. Here’s what you should get:
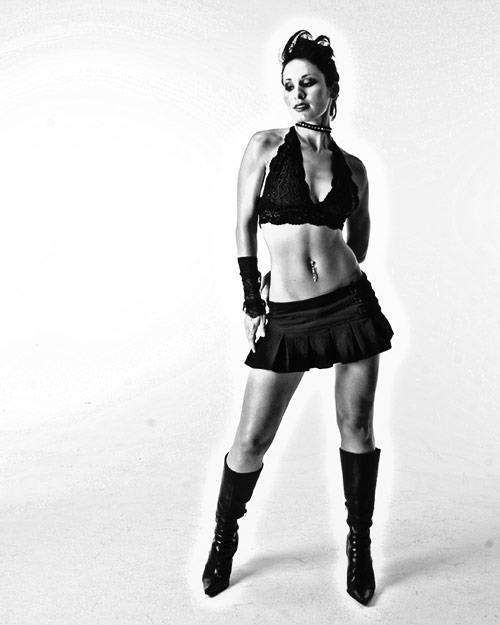
Then … take the Sharpened Layer and turn it to Multiply (layer mode). In this case, I also put it back to 70% to dull the effect somewhat:
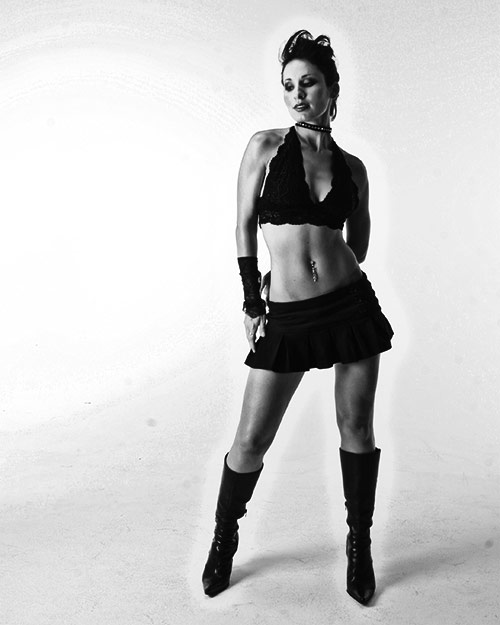
Finally, I took the original color image, threw it on top, and put the layer mode to Color … so just the color comes back in on top of the “crushed” black & white colors:
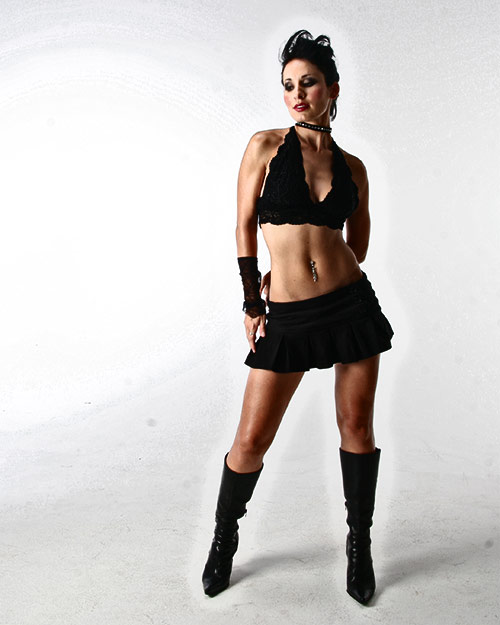
As you can see, this isn’t perfect … but I only spent about 15 minutes on the Photoshop part (and 30 minutes writing it up). I think with a little playing around it could be cool, and the effect could be tweaked to have more “crush” effect. If nothing else, it’s a quickie approximation or an idea to start you on the path towards a better solution to solving the great “300 Crush-Effect mystery”
Here’s what I would do quickly to finalize it:
– clip her from her background (terrible job below … for example only)
– add a background (this one sampled in part from a clip from the movie)
– add noise to her to match the background
– add an adjustment layer to get her color more accurate to background
And of course, a very important element … start with an image that has side or dramatic lighting (this one) and a dramatic image (not this one), and match the direction of the lighting of your subject to the background.
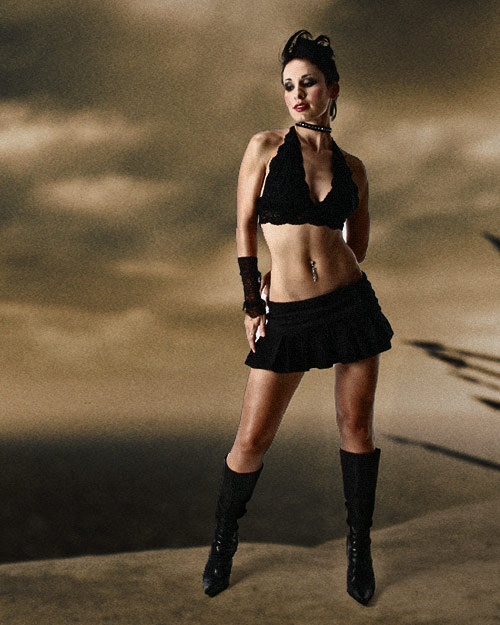
As always, let me know what you think, and what your ideas are on this topic … thanks!
UPDATE: Max V. says “A friendly hint: play with selective color, increasing blacks (on black), and also try to ‘match color’ to the sample photo from 300 for the final result :)”

hey this is a cool effect man it has given me alot more diversity with my projects
I think its too grainy mate.